How to Apply for a Permesso di Soggiorno With the Kit Postale
Standing in a humid line at a Poste Italiane office while clutching a yellow envelope is a rite of passage for every foreigner moving to Italy. I still remember the cold sweat I broke into when the clerk told me my "Marca da Bollo" was missing—back then, I didn't even know what a revenue stamp was. This guide removes that anxiety by walking you through exactly how to apply for a Permesso di Soggiorno with the kit postale.
Disclosure: This post may contain affiliate links. We may earn a commission at no extra cost to you if you make a purchase through these links. Read full disclosure.
The Infamous Yellow Envelope: What It Is and Where to Find It
The "Kit Postale," often called the Busta Gialla (yellow envelope) due to its distinctive color, is the primary vehicle for most residency applications in Italy. Unlike many countries where you might apply online or directly at a police station, Italy uses the postal system as an intermediary for non-EU citizens. This process is used for various reasons, including work, family reunification, study, and elective residence.
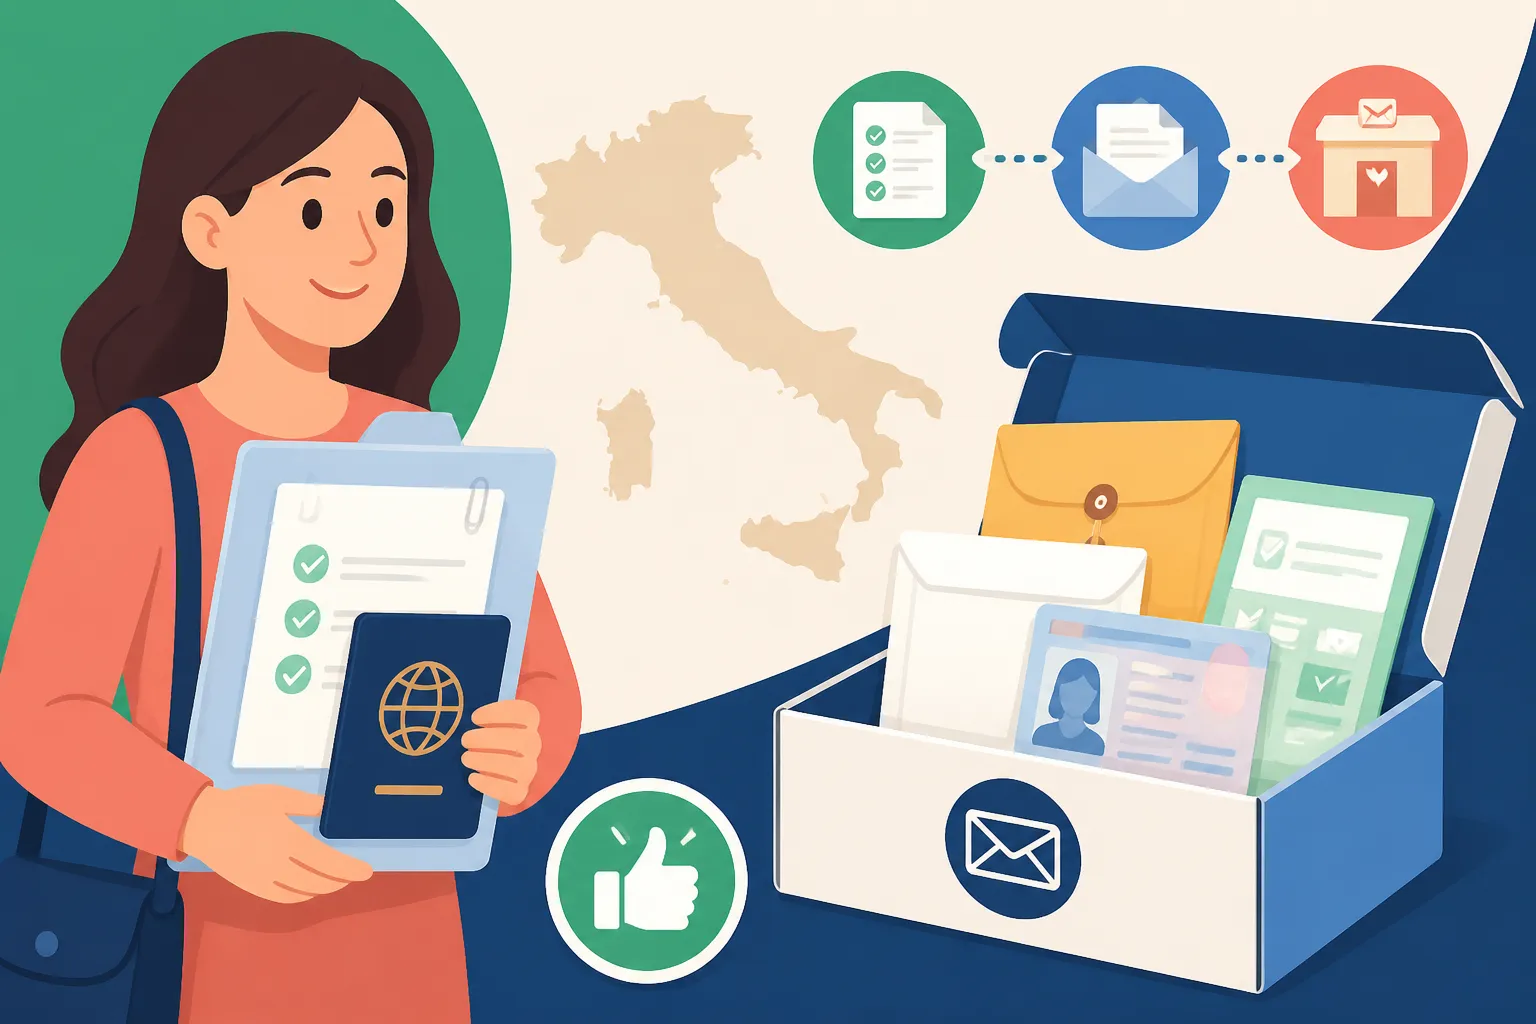
To get your hands on one, you need to find a Post Office that features a "Sportello Amico" desk. Not every tiny village post office will have these, but most mid-sized and large branches do. You simply walk up to the counter and ask, "Posso avere un kit per il permesso di soggiorno?" It is completely free to pick up. Inside, you will find two main forms (Modulo 1 and Modulo 2), a set of instructions (which are entirely in Italian and famously dense), and a specific payment slip called a bollettino.
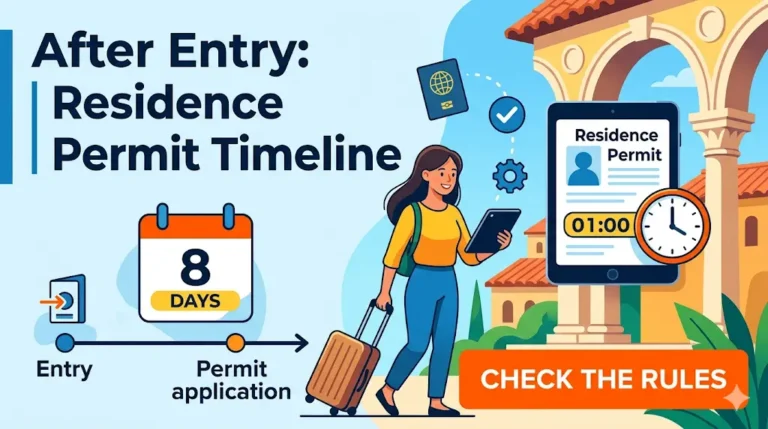
When you first open that envelope, the sheer volume of boxes and codes can feel overwhelming. I remember sitting at my kitchen table for three hours with a dictionary, terrified that one wrong checkmark would lead to a deportation notice. The reality is more forgiving, but precision is your best friend here. It is important to know how long after entry to apply for a residence permit in Italy because you generally have only eight working days from your arrival to initiate this process.
Mastering Modulo 1 and Modulo 2
The kit contains two primary forms. Modulo 1 is mandatory for everyone and covers your personal data, passport details, and the reason for your stay. Modulo 2 is specifically for those who have a source of income in Italy, such as employees or self-employed professionals. If you are a student or here on an elective residence visa, you usually only need to worry about Modulo 1.
When filling these out, use a black ballpoint pen and write in all capital letters. Each letter or number must sit perfectly inside its own box. If you make a mistake, do not use correction tape or cross things out. It is better to go back to the Post Office and get a fresh kit. One of the most critical sections is the "Codice Fiscale." You cannot complete this application without one, so ensure you have already learned how to Get a Codice Fiscale in Italy (and Why You Need One) before you sit down with your kit.
The forms also ask for a "Codice Ufficio" and a "Codice Tabella." These codes correspond to the specific Questura (police headquarters) in your province and the type of permit you are requesting. For instance, the code for a study permit is different from a work permit. Most people find these codes in the instruction booklet provided in the kit, but they are also frequently updated on the Portale Immigrazione website. If you are confused, checking Italian Residence Permit (Permesso di Soggiorno) Explained can help clarify which category you fall into.
The Essential Document Checklist: Your Allegati
The forms are only half the battle. The "allegati" (attachments) are the supporting documents that prove you have a right to stay in the Bel Paese. The Post Office clerk will not check the validity of these documents—that is the job of the police later—but you must include them in the envelope to avoid a "pre-avviso di rigetto" (notice of rejection) down the line.
First, you need a full photocopy of your passport. When I say full, I mean every single page, including the blank ones and those with old stamps from your 2015 trip to Greece. Do not leave anything out. You also need a copy of the visa that allowed you to enter Italy.
Second, you must prove you have health coverage. This is a major pain point for many. If you are not yet eligible for the SSN (the Italian national health service), you will need private insurance. For this specific requirement, Cigna Global is a very common choice for expats because their policies are generally accepted by the Questura and provide the high level of coverage required for residency. If you are still weighing your options, you should read up on Getting Health Insurance in Italy: Public and Private Options to see what fits your budget and legal needs.
Third, if your supporting documents—like birth certificates or marriage licenses—are not in Italian, they must be translated. The Italian bureaucracy does not accept "self-translations." You will need a sworn translation. Services like RushTranslate or Translayte are excellent for getting your documents into a format that Italian officials will accept. Using Translayte is particularly helpful if you need a quick turnaround for documents required for family permits. For more on this, see Apostilles and Sworn Translations for Italian Visas.
The Marca da Bollo and Payment Slips
Before you head back to the Post Office, you need to visit a Tabaccheria (the shops with the big "T" sign). You need to buy a "Marca da Bollo" for 16.00 Euro. This is a sophisticated-looking sticker that acts as a government tax. You will stick this onto the first page of Modulo 1 in the designated rectangular space. Do not forget this; the Post Office cannot process your kit without it.
You also need to fill out the bollettino (payment slip) found inside the kit. This is for the cost of the electronic card itself. As of 2026, the standard fee is 30.46 Euro for the card. However, there is also a "contributo" (contribution fee) that varies based on the length of your permit.
| Fee Type | Amount | Notes |
|---|---|---|
| Marca da Bollo | €16.00 | Purchased at a Tabaccheria |
| Electronic Card Fee | €30.46 | Paid via the Bollettino in the kit |
| Permit Duration (3 mo – 1 yr) | €40.00 | The "Contributo" fee |
| Permit Duration (1 yr – 2 yrs) | €50.00 | The "Contributo" fee |
| Long-term (Permesso UE) | €100.00 | For stays over 5 years |
| Mailing Fee | €30.00 | Paid at the Post Office counter |
The 30.00 Euro mailing fee is paid directly to the clerk when you hand over the envelope. Make sure you have enough cash or a card that works in Italian terminals, as Post Office lines are not places where you want to experience a payment failure.
Submitting the Kit at the Sportello Amico
Once everything is ready, head back to a Post Office with a Sportello Amico. Crucially: Do not seal the envelope. The clerk is required to verify that you have signed the forms and that your passport is present (they will ask to see the original passport to compare it with your photocopies).
The clerk will scan the barcoded forms, process your payment, and then print out a very important piece of paper: the Assicurata. This receipt has a User ID and a Password printed on it. These are your keys to the kingdom. They allow you to check the status of your application online. More importantly, this receipt serves as your legal proof of stay until your physical card is ready. In Italy, your "ricevuta" is almost as powerful as the permit itself; it allows you to stay in the country, and in many cases, to travel back to your home country (provided you fly direct and don't transit through other Schengen countries).
You will also receive a second piece of paper: the appointment slip for your "fotosegnalamento" (fingerprinting) at the Questura. This will have a specific date, time, and address. Do not lose this. I once saw a student lose their appointment slip and it took them four months to navigate the bureaucracy to get a new date. If you're nervous about what comes next, check the guide on Booking and Attending Questura Appointments in Italy.
Life with the Ricevuta: The Long Wait
After you submit the kit, the real test of your patience begins. Depending on which city you live in, the wait for your fingerprinting appointment could be weeks or even six months. In Rome or Milan, the timelines are notoriously sluggish.
During this time, you are in a state of "legal limbo." You are a resident in the eyes of the law, but you don't have the plastic card yet. You can use your receipt to register for a bank account or even sign a rental contract in some cases. However, if your visa is about to expire, you should look into how to Renew an Expiring Permesso di Soggiorno in Italy to ensure you don't have a gap in your legal status.
One thing many expats forget is to check their application status. You don't have to just sit by the phone. You can use your User ID and Password from the receipt to see if the police have requested more documents or if your card is ready for pickup. I recommend bookmarking the page for how to Track Your Permesso di Soggiorno Status Online so you can check it once a week.
Troubleshooting Common Kit Postale Issues
Errors happen, even to the most meticulous of us. If you realize after submitting the kit that you forgot a document, don't panic. You cannot "add" to the envelope once it's mailed, but you can bring the missing document to your fingerprinting appointment at the Questura. The officers there will usually just add it to your physical file.
Another common issue is the Post Office system being "down." This happens more often than it should. If the clerk tells you they can't process the kit today, don't argue—it’s usually a system-wide glitch. Just try another branch or come back the next morning.
Also, be aware of the "Domicilio" vs. "Residenza" distinction on the forms. Your "residenza" is your official registered address, while "domicilio" is where you actually live and want to receive mail. If you are staying in an Airbnb while looking for a long-term apartment, use that address as your domicilio, but be prepared to update the Questura once you move.
Finally, keep a folder with high-quality scans of everything you put in that yellow envelope. If the Post Office loses the kit (it’s rare, but it happens), having those scans will save you weeks of reconstruction. Italian bureaucracy thrives on paper; if you show up to an office with a well-organized folder, you're already halfway to winning their respect.
Disclaimer
This guide is for informational purposes only and is based on personal experience and current administrative practices in Italy as of 2026. Immigration laws and Post Office fees are subject to change without notice. Always consult the official Portale Immigrazione or a qualified legal professional (Patronato) for specific advice regarding your immigration status.