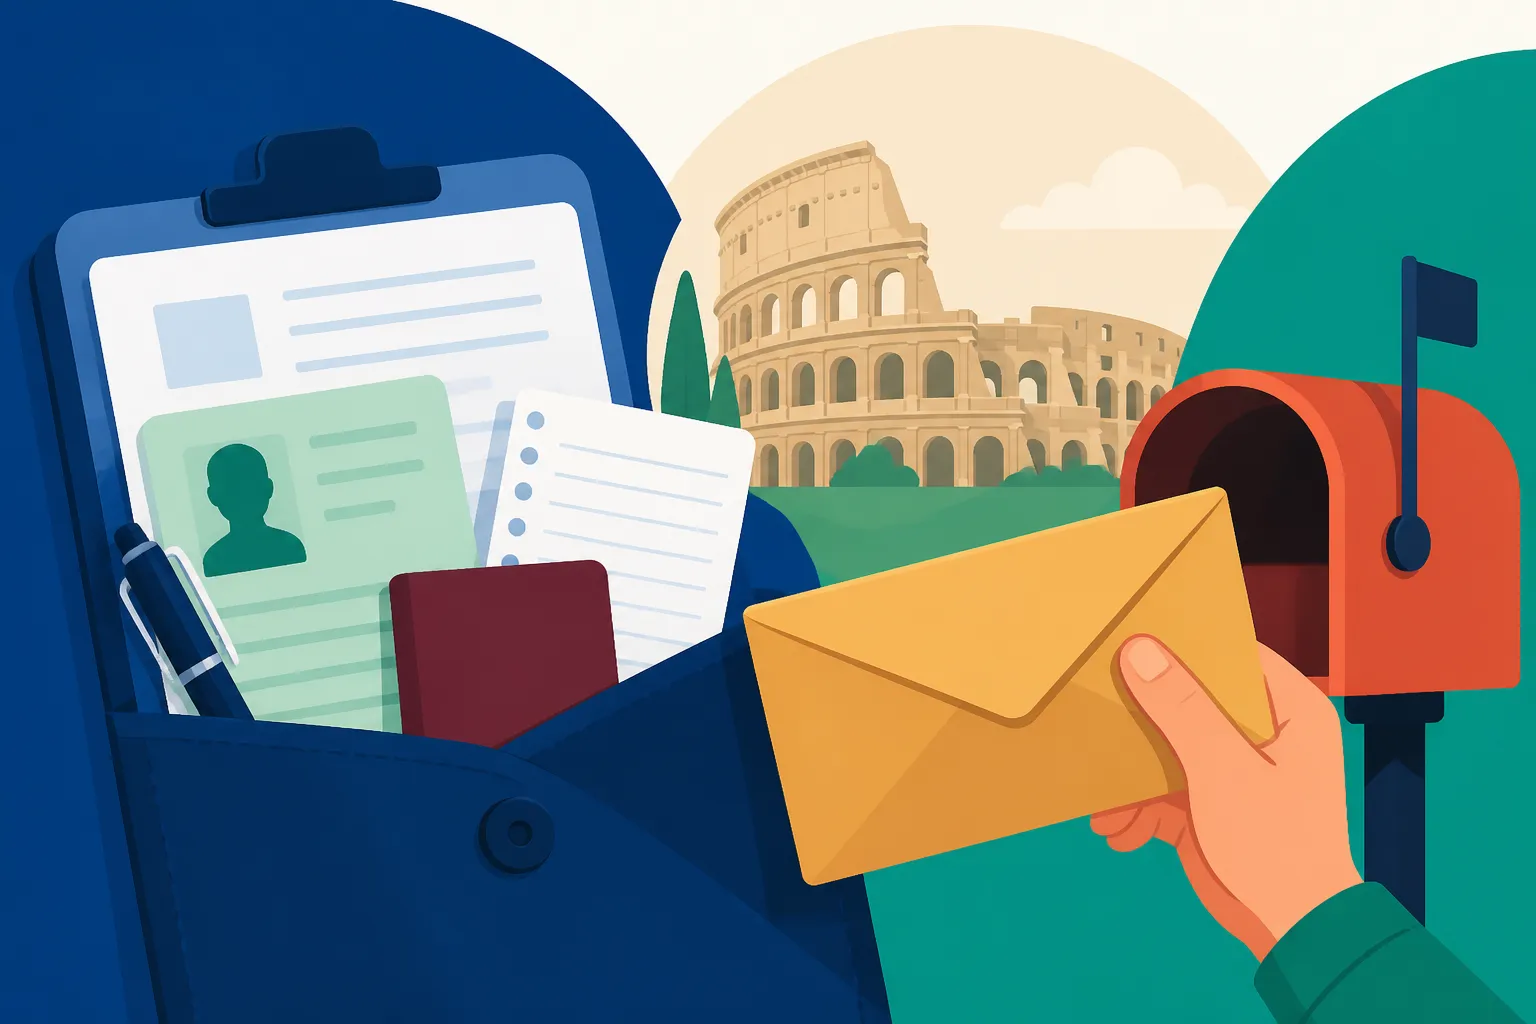
The Kit Postale: Applying for a Permesso di Soggiorno by Post
Staring at a thick yellow envelope while standing in a thirty-person deep line at the post office is a rite of passage for every foreigner in Italy. I remember my first time, sweating through my shirt, terrified that a single misplaced checkmark on Modulo 1 would get me deported. This guide demystifies the Kit Postale process so you can navigate Italian bureaucracy with confidence.
Disclosure: This post may contain affiliate links. We may earn a commission at no extra cost to you if you make a purchase through these links. Read full disclosure.
Understanding the Kit Postale and the Yellow Envelope
When you first arrive in Italy with a long-stay visa, you have exactly eight days to begin the process of obtaining your residency permit. The vehicle for this application is the Kit Postale, commonly referred to by expats as the "Yellow Kit" or Kit Giallo. This is a large, translucent envelope containing various forms and instructions that serves as the primary way for the Italian state to collect your data and initiate your legal stay. It is not just a mailing envelope; it is the official start of your life in Italy.
The reason this system exists is to offload the initial data entry from the overworked police stations, or Questura, to the nationwide network of the Italian Post Office (Poste Italiane). While it might seem counterintuitive to handle immigration through a mail carrier, the post office acts as a front-end processor. They verify that you have the basic required documents and collect the necessary government fees before forwarding your digital file to the immigration office.
What is the Kit Giallo
The kit itself is a collection of several components. Inside, you will find Modulo 1 (for personal data and stay details) and Modulo 2 (specifically for those applying for work-related permits). There is also a detailed instruction booklet, though it is written in a very formal, bureaucratic Italian that can be difficult even for native speakers to parse. The kit also includes a specific bollettino postale, which is a pre-printed payment slip used to pay for the electronic version of the permit card.
I cannot emphasize enough that you should pick up two kits if the clerk allows it. It is incredibly common to make a mistake on the forms, and since they must be filled out in black ink with no corrections or white-out permitted, having a backup kit saves you a return trip to the post office. When you finally submit it, everything goes back into that yellow envelope, which the clerk will then seal and process as a registered, tracked shipment called an Assicurata.
Who must use the Post Office route
Not every foreigner uses the Kit Postale, which often leads to confusion in expat forums. Generally, if you are a non-EU citizen applying for a study, work, family, or elective residence permit, you are required to use the post office. However, if you are applying for certain types of humanitarian protection or specific medical treatment permits, you might need to go directly to the Questura.
Before you start, it is vital to have your tax code ready. If you are unsure why, reading about How to Get a Codice Fiscale in Italy (and Why You Need One) will clarify its role in every administrative step you take. For most of us, the post office is the only door to legal residency. If you are an EU citizen, your process is entirely different and handled through the local town hall, or Comune, rather than this kit-based system.
Where to Find and How to Request Your Kit
Finding the kit should be the easiest part, but in Italy, even the simple things require a strategy. You must go to a branch of Poste Italiane that features a Sportello Amico counter. These are specialized desks that handle services for the public administration, including residency permits, health card renewals, and certain tax payments. Not every tiny village post office has a Sportello Amico, so look for the blue and white logo with those words on the front door of the branch.
When you walk in, you usually need to take a ticket from the yellow kiosk. Look for the button that says "Servizi al Cittadino" or specifically "Permesso di Soggiorno." If you just take a general "Letters" ticket, the clerk might refuse to help you when you finally reach the front. When it is your turn, simply ask for "Un kit per il permesso di soggiorno, per favore." They should hand it to you for free.
Locating a Sportello Amico
In major cities like Rome, Milan, or Florence, the central post offices always have several Sportello Amico counters. However, these are also the busiest. I’ve found that going to a mid-sized branch in a residential neighborhood often results in shorter wait times and more patient clerks. You can use the Poste Italiane website or app to search for branches and filter by the "Sportello Amico" service.
Once you have the kit, do not fill it out at the post office. Take it home, find a quiet space, and get your documents in order. You will eventually need to return to the same type of counter to submit it. During this time, it is also wise to look into How to Register for Italian Healthcare (SSN) as a Foreigner because your residency application and health coverage are deeply intertwined.
Tips for dealing with busy Post Italiane branches
The post office in Italy is more than a place to mail letters; it is a community hub where people pay utility bills, collect pensions, and even do their banking. Consequently, it is almost always busy. The best time to go is usually mid-morning, around 10:30 AM, after the early rush of business owners and before the lunch-break crowd arrives.
Avoid the first few days of the month, as that is when pensions are paid out and lines can stretch out the door. If your branch allows it, use the Ufficio Postale app to book a time slot in advance. This allows you to "cut" the virtual line, which is a life-saver when you are trying to squeeze this in during a work day. Remember that the clerks are often under a lot of pressure; a polite "Buongiorno" and a smile go a long way in making the process smoother.
Navigating the Paperwork: Modules and Attachments
Filling out the modules is where the real work begins. You must use a black ballpoint pen and write in all capital letters. Each letter must sit perfectly within its designated box. If you go outside the lines or scribble a correction, the optical scanners at the immigration office might reject the form. This is the moment where many expats feel the first real sting of Italian bureaucracy.
Modulo 1 is the most common form. It asks for your personal details exactly as they appear on your passport, your visa number, your date of entry into Italy, and the address where you are currently staying. You will also need to provide a "Table Code" for the type of permit you are requesting. For example, a student permit has a different code than a work permit. These codes are found in the instruction booklet, but double-check them with recent expat resources to ensure they haven't changed.
Filling out Modulo 1 and Modulo 2
Modulo 1 is divided into several sections. Section 1 is for your identity—last name, first name, and birth details. Section 2 is for your passport information. Pay close attention to Section 3, which asks for your "Stato Civile" (marital status). Italy is very specific about these classifications. If you are in Italy for work, you will also need to tackle Modulo 2, which requires information about your employer, their tax ID number, and your expected annual income.
If you find that your supporting documents, like employment contracts or marriage certificates, are not in Italian, you cannot simply submit them as-is. You will need a certified or sworn translation. Services like RushTranslate or Translayte are frequently used by expats to ensure their paperwork meets the strict linguistic standards required by the Questura. Having a clear, professional translation can prevent the clerk from rejecting your kit at the counter.
Essential documents for every application
While each permit type has specific requirements, a few things are universal. You must include a full photocopy of your passport. When I say full, I mean every single page—even the blank ones and the cover. The Questura wants to see every entry and exit stamp you have ever received. You will also need a copy of your visa and any supporting documents that were used to grant that visa, such as an enrollment letter from a university or an Italian work contract.
You also need proof of health insurance. This is a common stumbling block. For those who aren't yet eligible for the public system, international plans from providers like Cigna Global are often accepted, provided they meet the minimum coverage requirements (usually €30,000) and are valid for the duration of your stay. You must include the policy certificate in the envelope. For more details on these requirements, check out the guide on Getting Health Insurance in Italy: Public and Private Options.
The Financials: Taxes, Stamps, and Fees
Living in Italy is beautiful, but the administrative entry fee is real. When you submit your kit, you aren't just paying for postage; you are paying several government taxes and processing fees. It is essential to have the correct amount of cash or a working Italian debit card, as many post offices still struggle with international credit cards for these specific types of "government" payments.
The first thing you need is a Marca da Bollo. This is a physical duty stamp that looks like a small sticker. You can buy it at any Tabaccheria (the shops with the big "T" sign). As of mid-2026, the cost is €16.00. You will stick this onto the first page of Modulo 1 in the designated space. Do not stick it on until you are absolutely sure you aren't going to throw that form away and start over with a fresh one.
The Marca da Bollo and Bollettino Postale
The Marca da Bollo is essentially a tax on official documents. Without it, your application is legally void. In addition to the stamp, you must fill out the bollettino postale included in the kit. This slip is used to pay for the "PSE" (Permesso di Soggiorno Elettronico), which is the physical plastic card you will eventually receive. The amount for this changes periodically based on government decrees, so always verify the current rate before filling it out.
Currently, the breakdown of costs for a standard residency permit application is as follows:
| Item | Estimated Cost | Where to Pay/Buy |
|---|---|---|
| Marca da Bollo (Duty Stamp) | €16.00 | Tabaccheria |
| Electronic Permit Fee (PSE) | €30.46 | Post Office (via Bollettino) |
| Post Office Processing Fee | €30.00 | Post Office Counter |
| Government Contribution Tax | €40.00 – €100.00 | Post Office (varies by duration) |
The "Contribution Tax" varies depending on how long your permit lasts. A permit for one year usually costs less than one for two years. This is paid at the post office counter at the same time you submit the kit. Be aware that these fees are non-refundable, even if your application is eventually denied.
Summary table of costs
Understanding the total financial layout helps avoid surprises at the counter. In addition to the fees listed above, you should budget for the cost of photocopies (which can add up when you're copying every page of a 50-page passport) and any professional translation fees from firms like RushTranslate or Translayte.
If you are a student, you might be eligible for lower rates or specific exemptions. It’s a good idea to consult Healthcare for International Students in Italy: SSN vs Private to see if your health insurance costs can also be optimized. Always keep your receipts for everything; in Italy, a piece of paper with a stamp on it is your only shield against bureaucratic errors.
Mailing the Kit: The Sportello Amico Experience
Once your forms are filled out and your photocopies are tucked into the yellow envelope, head back to the Sportello Amico. Do not seal the envelope yet! The clerk is required to verify that the forms are signed and that the required photocopies are present. They will not read your employment contract for content, but they will check that Modulo 1 is complete and that the Marca da Bollo is attached.
The clerk will then scan your documents and your passport. They will ask you to pay the various fees. Once the payment is processed, they will print out several receipts. This is the most critical part of the day. One of these receipts will have a User ID and a Password (often called the Assicurata number). Another will be a large, official-looking receipt with your photo (if you provided one) and the details of your application.
What happens at the counter?
The clerk will place all your original forms and photocopies back into the yellow envelope and seal it. They will then give you the "Ricevuta," which is your temporary proof of legal stay. In the eyes of the law, this receipt is almost as powerful as the permit itself while you are waiting for your appointment. It allows you to stay in Italy past the expiration of your visa and even allows you to travel back to your home country (though usually only via a direct flight that doesn't transit through other Schengen countries).
Make sure the clerk also gives you a small slip of paper that contains your appointment date and time at the Questura. This is usually generated automatically by the system. If the system is down or the Questura is overbooked, they might tell you that you will receive a text message (SMS) with your appointment date later. If this happens, ensure they have your correct Italian mobile number. For more on how to manage these appointments, see Booking and Attending Questura Appointments in Italy.
Protecting your Ricevuta
I cannot stress this enough: do not lose that receipt. It is the only thing proving you are not an illegal immigrant while the Questura processes your file, which can take anywhere from three months to a year. I suggest taking a high-quality photo of it and uploading it to a cloud drive immediately. Some expats even go as far as getting the receipt laminated, though I recommend just keeping it in a sturdy plastic sleeve.
This receipt is also necessary for other administrative tasks. For instance, you will need it if you want to apply for a The Italian Health Card (Tessera Sanitaria): Uses and How to Get One. Without the ricevuta, the health office (ASL) will not be able to process your enrollment in the national health system. Treat that piece of paper like gold.
Post-Submission: Tracking and the Questura Appointment
After the high of successfully mailing the kit wears off, the long wait begins. You can track the status of your application on the Portale Immigrazione website using the User ID and Password found on your post office receipt. At first, it will simply say "In istruttoria," which means it is being processed. Don't check it every day; it rarely moves quickly.
The next major step is the appointment at the Questura for "rilievi fotodattiloscopici"—or fingerprinting. This is when you finally come face-to-face with the immigration officers. They will review the original documents that you only provided copies of in the kit. If they find anything missing, they will give you a document called a "Preavviso di Rigetto," which is a warning that they will reject the permit unless you provide the missing info within ten days.
How to track your status online
The tracking website is notoriously fickle. If it doesn't work in one browser, try another. There is also a second website, the Polizia di Stato site, where you can enter your file number to see if your card is ready for pickup. Once your status changes to "Documento di soggiorno in consegna," it means the card has been printed and sent to your local police station.
During this waiting period, if you move to a different apartment, you must notify the Questura. Managing your address is a vital part of Registering Residency in Italy (Residenza and Anagrafe). If the police try to send you a notification and you aren't at the address listed in your kit, it can cause massive delays or even the cancellation of your application.
Preparing for the finger-printing appointment
When your appointment date arrives, you need to bring four identical passport-sized photos with a white background. You must also bring the originals of every document you put in the kit: your passport, your work contract, your proof of health insurance (like your Cigna Global policy), and your housing contract. It is better to bring too much than too little. I always bring a folder with everything I’ve ever signed in Italy, just in case.
The atmosphere at the Questura can be tense. There are often long lines outside, even for those with appointments. Bring a book, a bottle of water, and a lot of patience. If your Italian isn't strong yet, you might consider Using Medical Translation and Interpretation Services as a reference point for finding linguistic help, though typically you are expected to handle the immigration interview yourself or with a friend who can translate. Once the fingerprinting is done, the hard part is over. You just have to wait for the SMS telling you the card is ready to be picked up.
Disclaimer
This guide is based on personal experience and general administrative practices in Italy as of 2026. Immigration laws and fees are subject to frequent changes by the Italian government. This information does not constitute legal advice. Always consult the official Portale Immigrazione website or a qualified immigration professional for the most current requirements regarding your specific situation.